Adding a new client
A "client" is your customer, that may have one or many vehicles within it.
When you sign up for a trial, you will automatically see an example client, you can rename this client, or add a new client
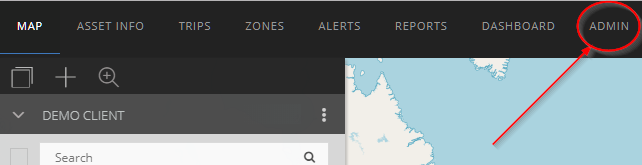
To add a new client, click on ADMIN
There are 2 ways to navigate to the add new client section
1. directly from the admin dashboard as seen below

2. Click on CLIENTS in the left panel, then click NEW CLIENT in on right

Add CLIENT NAME, if you would like the client to have their own URL, you can enter a CUSTOM URL, if you do not enter a custom URL they will use the main reseller (your URL)
Click the GREEN TICK ICON in the top right to save the changes

After saving, you will be presented with other optional items to configure
You can configure these additional settings later, simply visit admin/client/client settings.
1. Custom Client links
These links will appear in the user drop down, and will only be seen by this client

2. Address - address information for this client
3. Theme settings - colour scheme for this client
4. Visual settings - if you want to override the reseller logo etc, you can upload the client logo here.
5. Page title - browser tab name
6. Mapping - by default this uses the reseller settings, but you can override these settings here.
7. SMS settings - allow/disallow SMS capabilities for alerts etc, you can also limit the amount of SMSes this client receives per month to mange your own costs.
8. Reports - by default the client see's all reports, but you can restrict what reports they have access to here.